The Honeywell TH8321WF1001 is a Wi-Fi-enabled, touchscreen programmable thermostat from the VisionPRO 8000 series. Designed for compatibility with various HVAC systems, it offers advanced climate control, remote access, and energy-saving features. With its user-friendly interface and smart home integration capabilities, this thermostat is ideal for modern homes seeking efficient temperature management and convenience.
1.1 Overview of the Honeywell TH8321WF1001 Model
The Honeywell TH8321WF1001 is a Wi-Fi-enabled touchscreen thermostat from the VisionPRO 8000 series. It features a large, intuitive display for easy temperature control and scheduling. Designed for compatibility with various HVAC systems, including heat pumps and dual-fuel systems, this model supports up to 3 stages of heating and 2 stages of cooling. It also offers programmable options, remote access via Wi-Fi, and energy-saving features, making it a versatile and efficient choice for modern homes.
1.2 Key Features of the Wi-Fi VisionPRO 8000 Series
The Wi-Fi VisionPRO 8000 series, including the TH8321WF1001, features a high-resolution touchscreen display, 7-day programmable scheduling, and compatibility with heat pumps and dual-fuel systems. It supports up to 3 stages of heating and 2 stages of cooling. The thermostat also includes remote access via the Honeywell Home app, energy-saving modes, and smart home integration. Its design emphasizes ease of use, energy efficiency, and seamless connectivity, making it a comprehensive solution for home climate control.

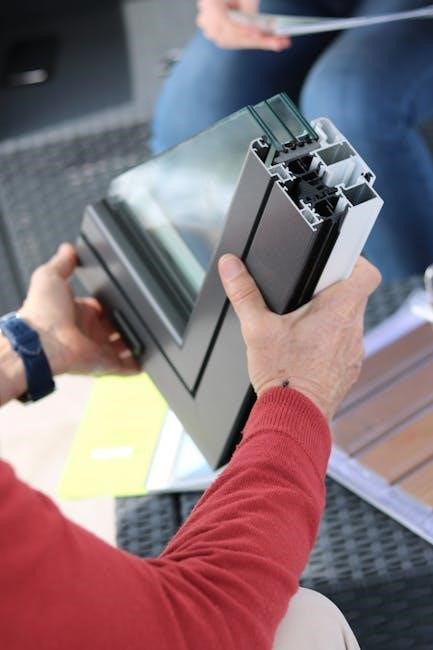
Pre-Installation Requirements
Ensure compatibility with your HVAC system, verify power requirements, and gather necessary tools. Turn off the power to the heating/cooling system before starting installation.
2.1 Compatibility Check for HVAC Systems
Verify that the Honeywell TH8321WF1001 is compatible with your HVAC system, including heat pumps, single or dual-stage heating/cooling systems, and auxiliary heat. Ensure the system matches the thermostat’s specifications for proper operation.
2.2 Tools and Materials Needed for Installation
Ensure you have the necessary tools and materials before installing the Honeywell TH8321WF1001. Required items include a screwdriver, wire labels, and voltage tester. Additional materials may include mounting hardware or extra wiring, depending on your HVAC system. Always turn off power to the system before starting installation to ensure safety and proper setup.
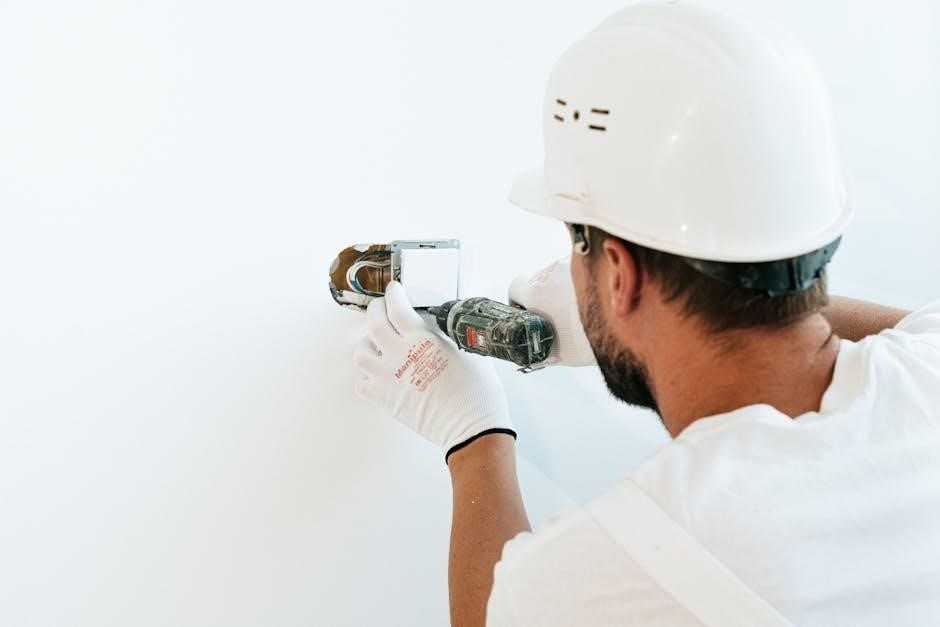
Installation Steps
Mount the thermostat, connect the wiring, and perform final checks to ensure proper installation. Follow the manual for precise steps and configurations to complete the setup successfully.
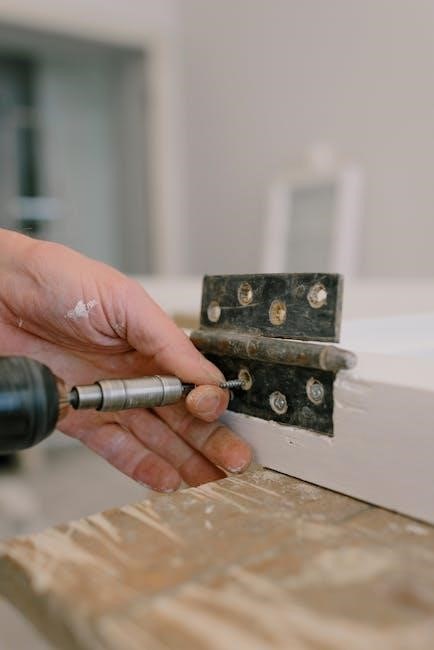
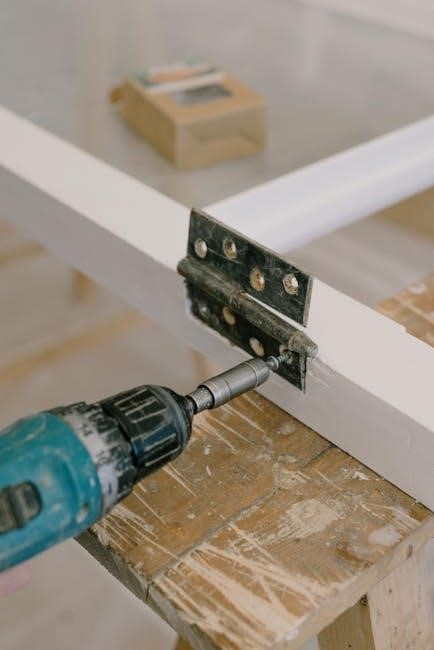
3.1 Mounting the Thermostat
Begin by removing the old thermostat and cleaning the wall area. Use the provided wall plate to ensure proper leveling and alignment. Secure the thermostat to the wall using screws and anchors. Make sure it is tightly fastened to avoid any movement. If necessary, use the included trim kit to cover marks from the previous installation. Ensure the thermostat is mounted straight and level for accurate temperature sensing and operation.
3.2 Wiring Connections and Configuration
Ensure the HVAC system is powered off before starting. Match the wires from the old thermostat to the corresponding terminals on the new Honeywell TH8321WF1001. Refer to the wiring diagram in the manual for specific connections. Securely attach each wire to the appropriate terminal, ensuring no loose connections. Double-check the wiring configuration to maintain system compatibility and functionality. Power on the system to test the thermostat’s response and confirm proper operation of heating, cooling, and fan modes.
3.3 Final Installation Checks
After completing the installation, power on the HVAC system and test all modes (heat, cool, fan) to ensure proper operation. Verify the thermostat display is responsive and accurately reflects the system status. Check that all wired connections are secure and correctly configured. Ensure the thermostat is properly mounted and leveled. Finally, confirm that the device successfully connects to Wi-Fi and performs a full system cycle test to guarantee functionality and readiness for use.
Unlocking and Configuring the Thermostat
Access installer options by entering the date code as the password, found under Dealer Information in the menu. This step is crucial for initial setup and configuration.
Configure system settings, such as heat/cool stages and equipment type, to ensure proper functionality. Verify all settings align with your HVAC system for optimal performance and efficiency.
4.1 Unlocking the Thermostat for Installer Setup
To unlock the Honeywell TH8321WF1001 thermostat for installer setup, navigate to the Menu, select Dealer Information, and locate the Date Code, which serves as the password.
Return to Installer Options, enter the Date Code, and follow on-screen prompts to access advanced settings for system configuration.
This step is essential for customizing the thermostat to your HVAC system’s specific requirements.
4.2 Setting Up Installer Options
After unlocking, navigate to Installer Setup to configure system-specific settings.
Select options like heat/cool stages, equipment type, and safety controls.
Refer to the manual’s Table 2 for detailed parameters.
Perform an Installer Test to ensure correct operation.
This step ensures optimal performance and compatibility with your HVAC system.
Connecting to Wi-Fi and Smart Features
This section covers connecting your Honeywell TH8321WF1001 to Wi-Fi and integrating with smart systems via the Honeywell Home app, enabling remote access and voice control with Alexa or Google Home.
5.1 Wi-Fi Network Configuration
To connect the Honeywell TH8321WF1001 thermostat to your Wi-Fi network, select the network name from the available options on the thermostat’s touchscreen. Enter the password when prompted. Ensure the network is 2.4 GHz, as 5 GHz is not supported. Once connected, the thermostat will confirm the connection. If issues arise, restart the router and thermostat, then retry the connection process to ensure proper setup and functionality.
5.2 Integrating with Smart Home Systems
The Honeywell TH8321WF1001 seamlessly integrates with popular smart home systems like Samsung SmartThings and others. Users can control the thermostat using voice commands via Amazon Alexa or Google Assistant. This integration allows for remote temperature adjustments and system monitoring through smartphone apps. To enable smart home integration, link your Honeywell account with the smart home platform via their respective apps. Once connected, you can create custom automations to enhance your home’s comfort and efficiency.
Advanced Settings and Customization
The Honeywell TH8321WF1001 offers customizable scheduling, energy-saving modes, and smart home integrations. Users can tailor settings to optimize comfort and energy efficiency based on their preferences.
6.1 Scheduling and Programmable Options
The Honeywell TH8321WF1001 allows users to create custom schedules for heating and cooling. Program up to seven days with four periods per day. Set specific temperatures for wake, leave, return, and sleep times. The thermostat also features an “optimum start” function, which begins temperature changes early to reach the desired level at the set time. These programmable options enhance comfort and energy efficiency, ensuring optimal performance tailored to daily routines.
6.2 Energy-Saving Features
The Honeywell TH8321WF1001 includes energy-saving features such as geofencing, smart recovery, and energy usage reports. Geofencing adjusts temperatures based on your location, while smart recovery learns your system’s operation to reach settings efficiently. Energy reports provide insights into usage patterns, helping you optimize settings for lower utility bills. These features ensure energy conservation without compromising comfort, making it an eco-friendly and cost-effective solution for home climate control.
Troubleshooting Common Issues
Common issues include Wi-Fi connectivity problems, display malfunctions, or sensor inaccuracies. Resetting the thermostat or checking wiring connections often resolves these problems. Refer to the manual for detailed solutions.
7.1 Resolving Connectivity Problems
Connectivity issues with the Honeywell TH8321WF1001 often stem from unstable internet connections or incorrect Wi-Fi configurations. Ensure the thermostat is connected to the correct network and the password is entered accurately. Restarting the router or resetting the thermostat can resolve temporary glitches. If problems persist, check for firmware updates or consult the installation manual for detailed troubleshooting steps.
Additionally, verify that the thermostat’s Wi-Fi signal strength is adequate. If issues remain unresolved, contacting Honeywell support may be necessary for further assistance.
7.2 Addressing Display or Sensing Issues
If the Honeywell TH8321WF1001 display is unresponsive or sensors malfunction, ensure proper power supply and check for loose wiring connections. Restart the thermostat by removing batteries or switching off power; Update firmware if available. Clean the touchscreen gently and calibrate it if necessary. For persistent issues, refer to the installation manual or contact Honeywell support for assistance. Regular maintenance can prevent such problems.
8.1 Final Checks and Testing
After installation, verify all wiring connections and ensure the thermostat is powered on. Test basic operations, such as adjusting temperature and switching modes. Check Wi-Fi connectivity and remote access functionality. Review programmed schedules and settings to confirm they are correctly configured. Perform a full system test to ensure the HVAC system responds accurately to thermostat commands. Address any issues promptly to guarantee optimal performance and functionality.
8;2 Accessing the Full Installation Manual PDF
To access the complete Honeywell TH8321WF1001 installation manual, visit the official Honeywell website or trusted sources like ManualsBooks.com. The PDF manual is available for download, providing detailed step-by-step instructions, diagrams, and troubleshooting tips. Ensure you download the correct version for the VisionPRO 8000 series. Referencing the official manual guarantees accurate installation and setup, helping you maximize the thermostat’s features and performance efficiently.